Easy way to design a website using WordPress


Creating a website on WordPress is much easier and doesn‘t require much technical expertise. So, here goes the step-by-step guide to designing a website with ease:
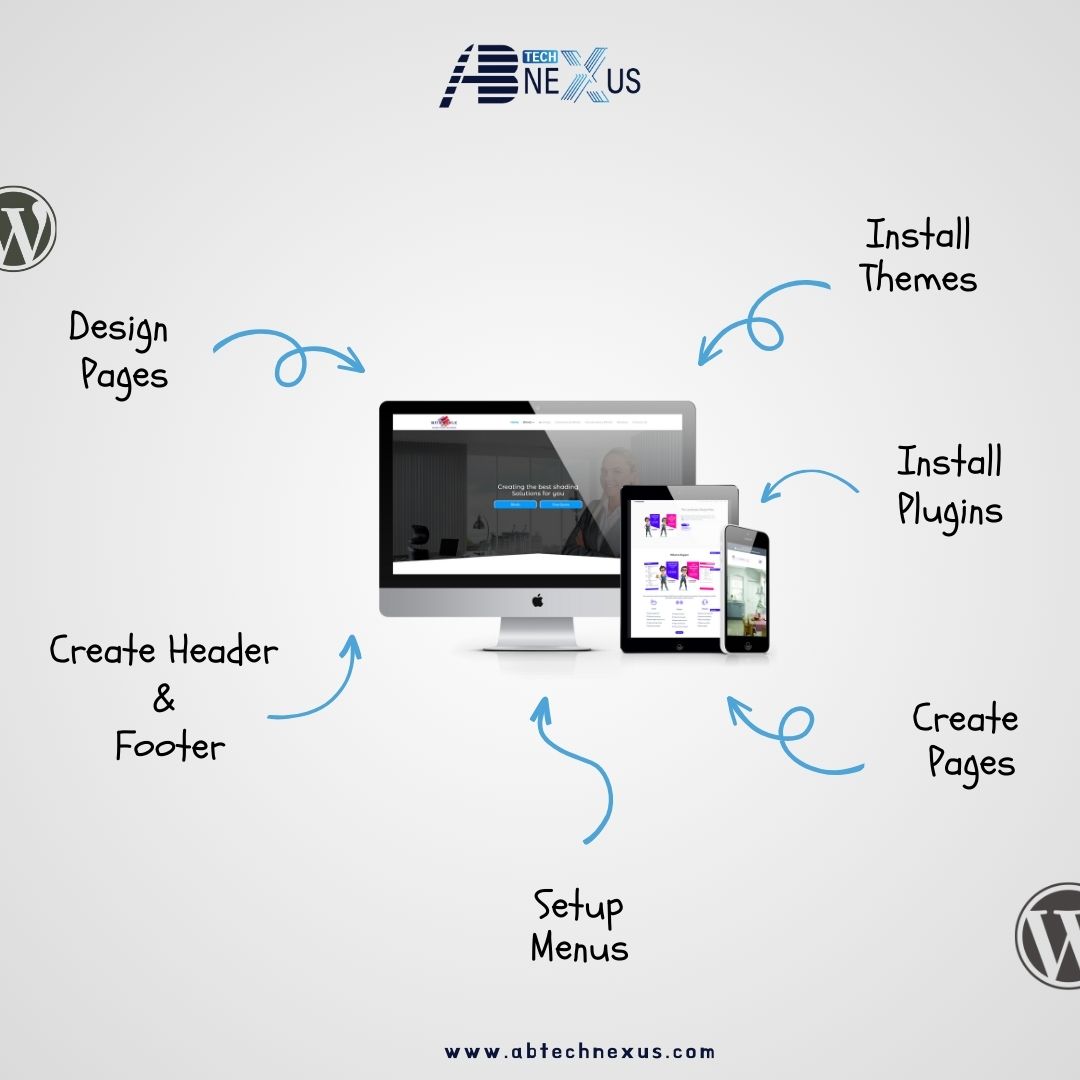
1. Install Themes
The theme defines how your overall website will look and feel.
Here’s how you install a theme:
- Log in to your WordPress dashboard.
- Go to Appearance > Themes.
- Click on Add New and browse through themes.
- Choose a theme that fits the purpose of your website (e.g., business, portfolio, blog).
- Click Install and then Activate to install the theme.
- Pro Tip: Start with a responsive theme so your website will look good on all devices.
2. Install Plugins
Plugins extend the functionality of your WordPress site. The plugins that are must-haves are:
- Elementor or any other page builder for creating amazing pages easily.
- Yoast SEO to optimize your website for search engines.
- Contact Form 7 or WPForms for creating contact forms.
- WooCommerce for setting up an online store.
- Smush for optimizing images and improving website speed.
To install plugins:
Go to Plugins > Add New in your dashboard.
Search for the desired plugin.
Click Install Now and then Activate.
3. Create Pages
Your website’s structure depends on its pages. Common pages include:
- Home: The main page that welcomes visitors.
- About: Information about your business or yourself.
- Services: Info about the services you offer.
- Contact: A page with your contact details and a form.
To create a page:
Go to Pages > Add New.
Write a title for your page.
Either use the built-in editor or a page builder like Elementor to design your page.
Once you’re good with the content, hit Publish.
4. Set-Up Menus
Menus come in handy when visitors need to navigate through your site easily.
- Go to Appearance > Menus.
- Click Create a New Menu and name it (e.g., Main Menu).
- Add pages, posts, or custom links to the menu.
- Arrange menu items by dragging and dropping them.
- Assign the menu to a location (e.g., Primary Menu) and click Save Menu.
5. Create Header and Footer
The header and footer are important for branding and navigation.
- Go to Appearance > Customize.
- Look for options to edit the header and footer.
- Add your logo, social media links, and contact information.
- Use a theme or plugin such as Elementor Pro for more extensive customization.
6. Design Pages
With the theme and plugins set, let’s start with designing your pages:
- Open the page in a page builder such as Elementor.
- Select a layout template or create one from scratch.
- Drag and drop elements like text, images, buttons, and videos.
- Change colors, fonts, and spacing according to your branding.
- Preview the design and save changes.
Bonus: Writing Blog Content
Blogs attract visitors and help with SEO. To create a blog post:
- Go to Posts > Add New.
- Type in a catchy title and engaging content.
- Add images relevant to the post, and optimize the post using the Yoast SEO plugin.
- Make use of categories and tags for better organization.
- Hit Publish to make the blog go live.
Final Tips
- Always keep your plugins and themes up to date to ensure your website is running with the latest in both security and performance.
- Test your website on all devices to ensure that the user has a smooth experience.
- Keep track of the performance of your website with analytics tools, such as Google Analytics.
- By following these steps, you will have a professional-looking website in no time!
Company
We will turn your vision into a digital reality with creative designs and solid development.
Most Recent Posts
- All Post
- News
- tricks
- WordPress
